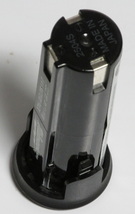
 Milwaukee Driver. Click to enlarge.
 As some of you will remember, quite a while back, I embarked on an endeavor to rescue / resuscitate some cordless drill batteries.
The idea was that
a.) Batteries that were fairly well gone could be rescued using a higher current, higher voltage "jolt"
b.) To maintain the resuscitation, the batteries were then power cycled many times until they reached normal charging capacity
c.) Do the above on individual batteries rather than on a series of batteries. It costs more, but the batteries last much longer
d.) Design a circuit that does the above, and test it out
To that end, I set about collecting data. I tore apart 3 different Ryobi 18V battery packs, each "dead", and proceeded with the rescue. I bought super fancy battery chargers (over $100 each) and collected a ton of data. I now know how much current it takes to revive, how to revive, and how maintain.
I designed a circuit for the above, got the schematics going, and set about getting a PCB fabricated.
During all of this, I lost my job, found another, and then was swamped with work, so I didn't make a lot of progress, and never did get that PCB made.
Fast-forward to now. Rather than trying to mess with 15 batteries in the Ryobi 18V pack, I decided to start out with a little Milwaukee 2.4V industrial screwdriver. These are heavy duty little units that go forever. They are too slow to drill, but they can drive screws like no tomorrow.
I tore apart a battery pack. This one was way too far gone to resuscitate the batteries, so I decided to try a little experiment. I wanted to see if I could fit a couple of AA size NiMh batteries in the same space as the 2 sub C batteries already in there. AA NiMh batteries have 2.5Ah of capacity compared to the 1.2Ah capacity of the sub C batteries, and I have a ton of them.
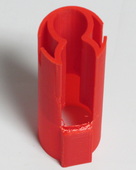
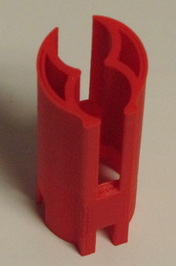
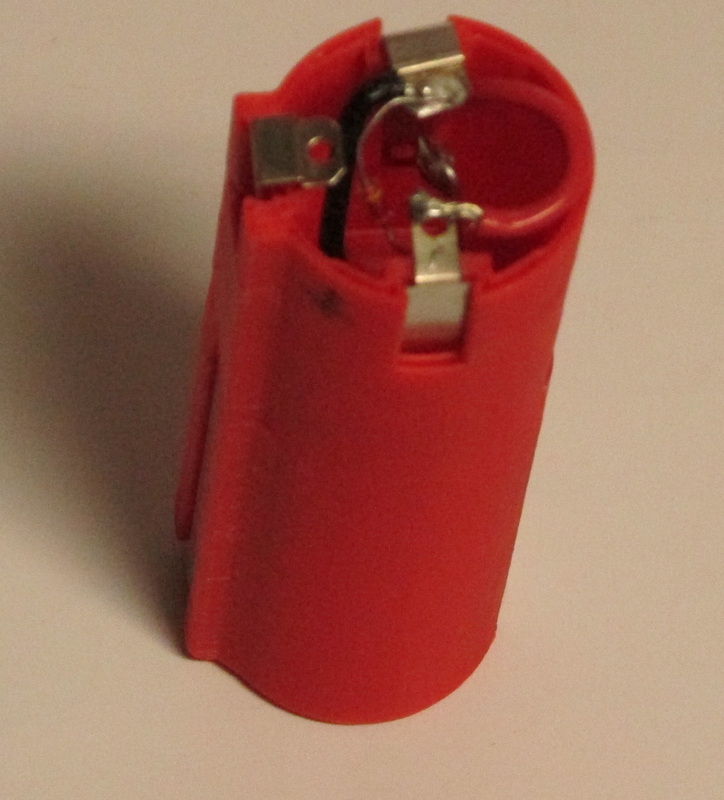
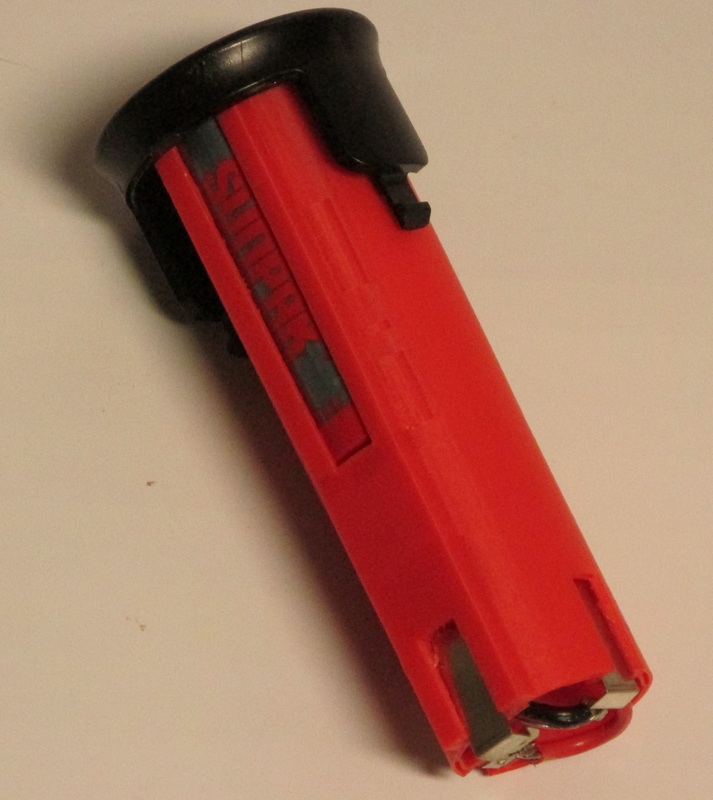
I started using SketchUp for my design, and here's the first two passes from my 3D printer. (The first pass the AA batteries didn't even fit properly.)
I started using SketchUp for my design, and here's the first two passes from my 3D printer. (The first pass the AA batteries didn't even fit properly.)
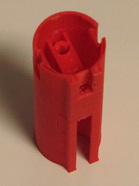
I made a few adjustments, adding a landing area for the battery terminals, and went for it. I've got a lot to learn about SketchUp + 3D printing. One of the more important things to learn to do is to create a solid model. Below was not solid.
Learning from my mistakes, I made a 4th model. And a 5th. And a 6th. Here you see the batteries in place, everything connected as it should be. All that's left is to put it in the driver and go to town.
Note that the first picture of the driver shows this final battery inserted. Hah!
So, armed with freshly charged AA batteries, I dropped them in, and pressed the Forward button. Nothing. Pressed reverse. Nothing. Double-checked all of my connections. Nothing. Checked again. Nothing. Checked batteries. Yep, good voltage and making contact. Still nothing.
I put in a known good battery pack. Yep, that all works. OK, good. Back to trouble-shooting. I pulled out the AA batteries and hooked up my 180W digital power supply. NOTHING. Ugh. I cranked up the current. Finally, at about 2.6A, the driver started to barely turn. At 4A, it was up and running.
Now, one would think that if I could figure out how to make the battery pack, wire it all up, etc., that I would stop and test the AA batteries in the driver before I started this, right? WRONG.
Ooops. I forgot that NiMh batteries have a much higher internal resistance and can't be used in cordless motor applications. OK, really, I knew that all along, but I had assumed that this itty bitty little driver couldn't be pulling that much current.... I guess that's what I get for assuming.
Well, at least I have a good model for when I put my first circuit board in.
Oh, and I almost forgot.... I've moved on to Li-Ion. I know, get caught up already. Actually, just in this application, I think a Li-Ion would be perfect. (Yes, it does work in the driver!). Also, I can get rid of the big, bulky, expensive charger and replace it with a little cell phone charger.
I've got this circuit designed and laid out. PCBs are being fabbed, and I should be receiving them by the time I get back from a long vacation in Hawaii.
Once the PCBs arrive, I'll set about making another model. This was fun, and a good learning experience.

 RSS Feed
